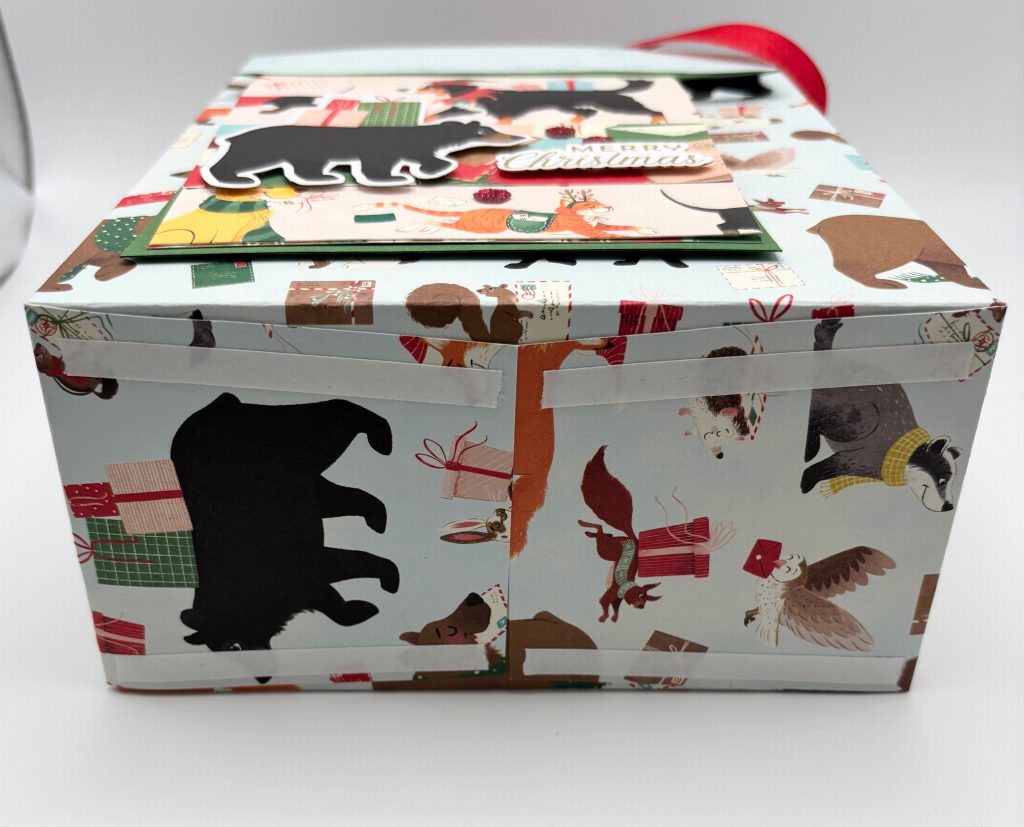
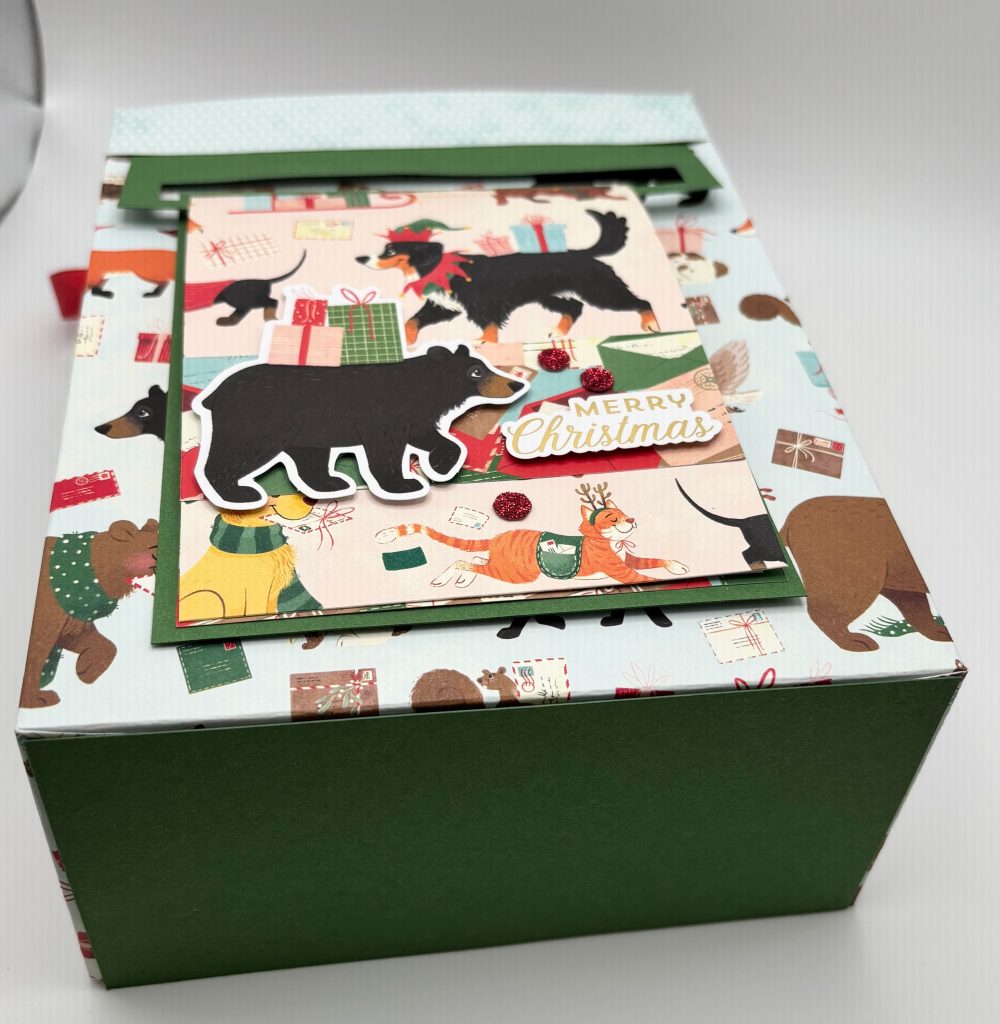
Looking for a fun way to turn your patterned paper stash into something truly gift-worthy? This charming handmade gift bag proves that 12″ x 12″ papers can go a long way. With plenty of room for cards, treats, or small surprises, it’s the kind of project that feels just as special as what you put inside.
If you love projects that are practical, pretty, and a little bit impressive (without being hard), this is one you’ll want to save and make again and again.

12×12 Gift Bag Instructions
- Cut one piece 4” x 12” then cut to 10 ½” x 4”. Score at 5 ¼”
- Score the remaining piece of 8” x 12” at 1x1x1x3 (3 is on the 8” bottom).
- Score the other piece of 12” x 12” at 3x3x3x1.
- Fold down the 1” at top of both pieces and tape down so the reverse side shows on front. This is the top of your bag. Make the rest of your folds. Cut up a relief cut in corner of bottom of both pieces.
- Use tear & Tape to secure the bottom folds. Then put tear and tape down the 1” sides of the 8×12 piece of paper and fit into the 12”x12” folded piece. Before you secure the sides, make sure to add some tape on the bottom so they fit together.
- For the card hanger, cut a piece of paper at 5 ½” x 2 ¼”. Cut or punch a slit almost to the end of the piece. Tape to the bottom of the 1” folded over piece at top of bag.
- Card: Cut a piece of 5 ½” x 4 ¼” paper to match your 5 ¼” x 4” Designer Series Paper. Adhere cardstock to back. Decorate card any way you want and add a sentiment of your choice.
- Make handles on bag with hole punch and ribbon.
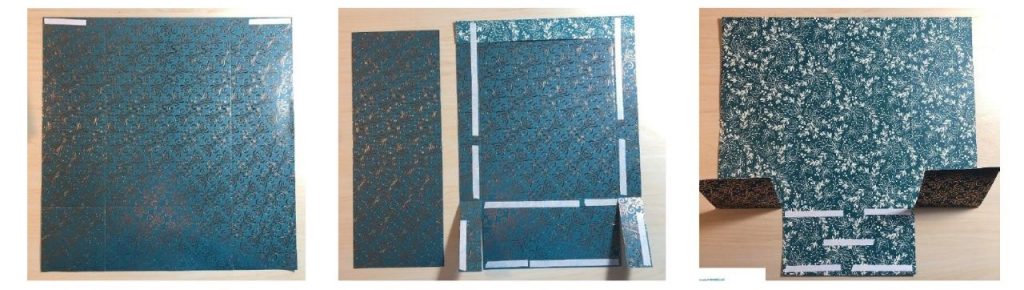
If you ended up with your large flaps on the bottom like I did on my first attempt, no worries! Simply cut a piece of cardstock to 2 7/8” by 5 7/8” and adhere it to the bottom. The bonus is that this further strengthens your bag!
Watch the replay here ::
Go to 17:04 to see the gift bag being made.


Leave a Reply